 Mehmood Ur Rehman Qureshi
MCP Browser Extension 0.9.22 adds a Proxy section to the extension's Settings page. You choose the proxy in Chrome; your MCP client can read its status. The setting belongs to that Chrome profile, so the tabs your agent opens use the profile's network configuration while retaining its existing cookies and logins.
This guide explains what to enter, how to check the result, and what to do when Chrome cannot reach the proxy. It describes the feature shipped in the source and npm release. If you install through the Chrome Web Store, check the version shown in the extension's Settings before expecting the new controls; store approval and the npm release are separate.
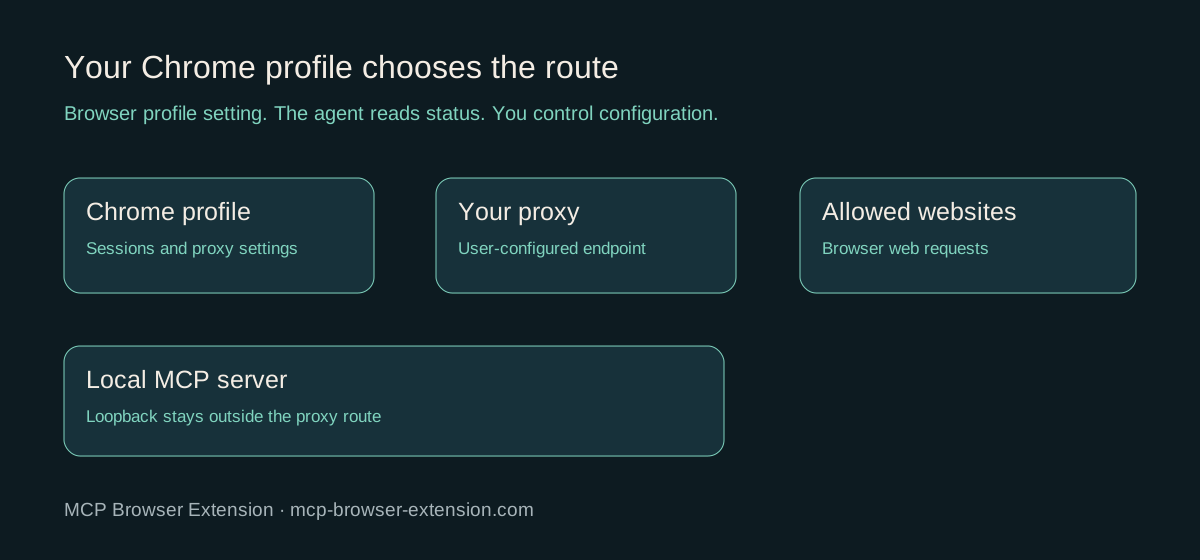
What the setting changes
The proxy changes the route used by supported browser web requests in the selected Chrome profile. It does not create a new browser, clear cookies, sign you into a website, or change the MCP server's domain allowlist. An existing session remains a session in that profile, subject to the website's own checks and expiry.
Chrome's proxy API manages browser settings rather than an individual tab. That is why this feature is configured on the extension's Settings page. If you want different proxies for different tasks, use separate Chrome profiles and pair each one with MCP Browser Extension.
Your local MCP connection is kept outside the proxy route. The extension bypasses localhost, loopback addresses, and simple local hostnames so it can still reach the server on your machine. This is a browser proxy feature, not a system-wide VPN. Other desktop applications and the local Node server do not inherit the extension's setting.
Before you start
Have the proxy host, port, and protocol supplied by your provider or administrator. If authentication is required, also have the username and password. Use an endpoint you are authorized to use. The extension configures Chrome; it does not sell or provide proxy servers.
Create a dedicated Chrome profile for agent work if you do not want the proxy applied to your everyday browser tabs. Install or load the current extension in that profile, pair it with your local MCP server, and give the profile a recognizable name. The quickstart covers installation and pairing.
Keep the MCP client's domain permissions narrow. For example, a local session that can navigate example.com can start with:
npx -y @mehmoodqureshi/chrome-mcp@0.9.22 \
  --profile agent-work \
  --allow-domain example.com \
  --enable-mutations --persist-token
The profile name here must match a paired browser. Merely passing a new name does not install an extension or create a Chrome profile. Also, no special proxy flag is needed: the proxy is a user setting in the extension, while proxy_status reads it through the existing connection.
Enter the proxy in Settings
Open the extension's toolbar popup in the intended Chrome profile and open Settings. Scroll to Proxy. Enable Use a proxy in this Chrome profile, select Type, and enter Host and Port.
The supported choices are HTTP, HTTPS, SOCKS4, and SOCKS5. Choose the protocol of the proxy endpoint, not the protocol of the page you plan to visit. An HTTPS website does not automatically mean your proxy endpoint is an HTTPS proxy.
For a proxy that requires credentials, use HTTP or HTTPS and enter Username and Password separately. Chrome does not support username/password authentication for SOCKS proxies through this feature. Selecting SOCKS5 does not make an authenticated HTTP endpoint work.
The Host field also accepts a provider-style line such as host:port:user:pass and splits it into fields. For examples and screenshots, use placeholders rather than your real credentials. Leave Password blank when editing an existing saved configuration if you want to keep its current password.
Click Save proxy. This is a setting for the whole profile. All of its existing browser tabs may be affected, not only the next tab your agent opens. Do not apply a test endpoint in a profile where you need ongoing work to stay connected.
Check the route before using it
Click Check IP on the Settings page. The extension requests an IP lookup from ipinfo.io, with api.ipify.org as a fallback. A successful result tells you the address observed by that service. Compare it with the exit address you expect from your proxy.
Your MCP client can also request the same status:
Call chrome_status, then proxy_status.
Tell me whether the active browser profile has a proxy enabled,
whether the extension controls it, and whether the exit-IP lookup succeeded.
Do not change any settings.
Inspect enabled, server, control, and exitIp together. A saved configuration and a successful network route are different facts. If the lookup fails, the tool returns an error; that is not proof of a particular exit location. Country and city are included only when the lookup service supplies them, and should be treated as IP-geolocation estimates.
The tool excludes the proxy username and password from its result. However, it does report the proxy address and exit IP. If you share a screen recording, hide those values when they identify a private endpoint. See the privacy policy for what is stored and what the IP check contacts.
WebRTC and local connections
The optional Stop WebRTC from revealing the real IP control requests Chrome's privacy permission. When enabled with the proxy, the extension sets WebRTC's IP-handling policy to disable non-proxied UDP. This matters because video-call features may otherwise use network paths outside an HTTP proxy.
That control is not a guarantee of anonymity. Websites can still see account identity, cookies, browser characteristics, and other information you share. Some calling features may behave differently under the restricted policy. Check your task's actual requirements before enabling it.
Localhost remains bypassed intentionally. The agent's connection to its local server should not depend on a remote proxy being reachable. A proxy also does not relax the domain policy: a blocked website stays blocked even if Chrome could reach it through the proxy.
If the proxy does not work
First confirm the host, port, and protocol. Next check credentials and whether the provider requires an IP allowlist. For authenticated proxies, use HTTP or HTTPS. A wrong password can be refused without repeatedly retrying the same request.
The extension uses a fixed proxy rule without adding a direct fallback for the web requests it routes. A dead endpoint can therefore cause pages and the IP lookup to fail. Do not interpret a proxy error page as an MCP pairing failure if chrome_status still reports the browser connected.
If control indicates another extension or policy controls the setting, review the other proxy extension or managed-browser policy. Saving your own configuration is not evidence that Chrome accepted it as the effective setting. Avoid competing proxy managers in the same profile.
To stop using this proxy, turn its checkbox off and save. The extension clears its override; Chrome may then use system or other applicable settings. It does not necessarily force every browser connection to use a direct route. Confirm the result with another IP check.
FAQ
Can the agent set my proxy?
No. MCP Browser Extension exposes a read-only proxy_status tool. You save or change the proxy yourself on the extension's Settings page.
Is this a proxy for one tab?
No. The setting applies to the Chrome profile. Use separate profiles when tasks require separate proxies.
Are my proxy credentials sent to the model?
The proxy username and password remain in the extension's local storage and are not included in proxy_status. Do not paste them into a chat or record the credential fields.
Does a proxy let the agent reach blocked sites?
No. Network routing and MCP permissions are separate. The server's allowlist still decides which pages the agent may operate on.
How do I use more than one proxy?
Configure one proxy in each dedicated Chrome profile and switch the active paired profile with profile_use. The profile workflow explains the checks before each task.
Set it up in a few minutes